CampZone 2020 Badge Literally Speaks to Us
The pandemic has left my usual calendar of events in shambles this year. Where I’d have expected to have spent a significant portion of my summer mingling with our wonderful and diverse community worldwide, instead I’m sitting at home cracking open a solitary Club-Mate and listening to muffled techno music while trying to imagine myself in a field somewhere alongside several thousand hackers.
As a knock-on effect of the event cancellations there’s another thing missing this summer, the explosion of creativity in the world of electronic conference badges has faltered. Badges are thin on the ground this year, so the few that have made it to production are to be treasured as reminders that life goes on and there will be another golden summer of hacker camps in the future. This year, the CampZone 2020 badge was given its own voice and perform neat tricks like presenting a programming interface via WebUSB!
A Badge, That Isn’t Quite A Badge
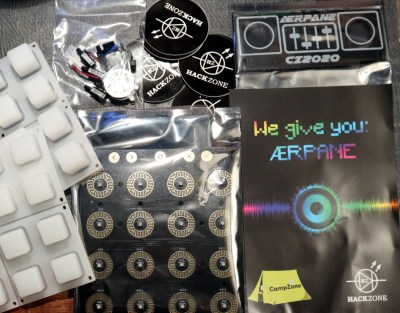
CampZone is a European event mostly for the gaming community but incorporating the HackZone event within it. The in-person conference has been cancelled this year and gone online like so many others, but that hasn’t stopped its badge creator Tom Clement and team bringing out the CampZone 2020 badge anyway.
The result is the AerPane, pronounced “Ear-pain” in a reference to the 2019 i-Pane, and a design that continues the theme of CampZone badges by providing an in-your-face multimedia experience for musical experimenters with onboard speakers and a very bright LED-lit 16-key silicone keyboard. It runs the well-established badge.team firmware under the skin, so when I ordered my badge I was interested to see just how they had managed to incorporate a rich interface into such minimal UI hardware.
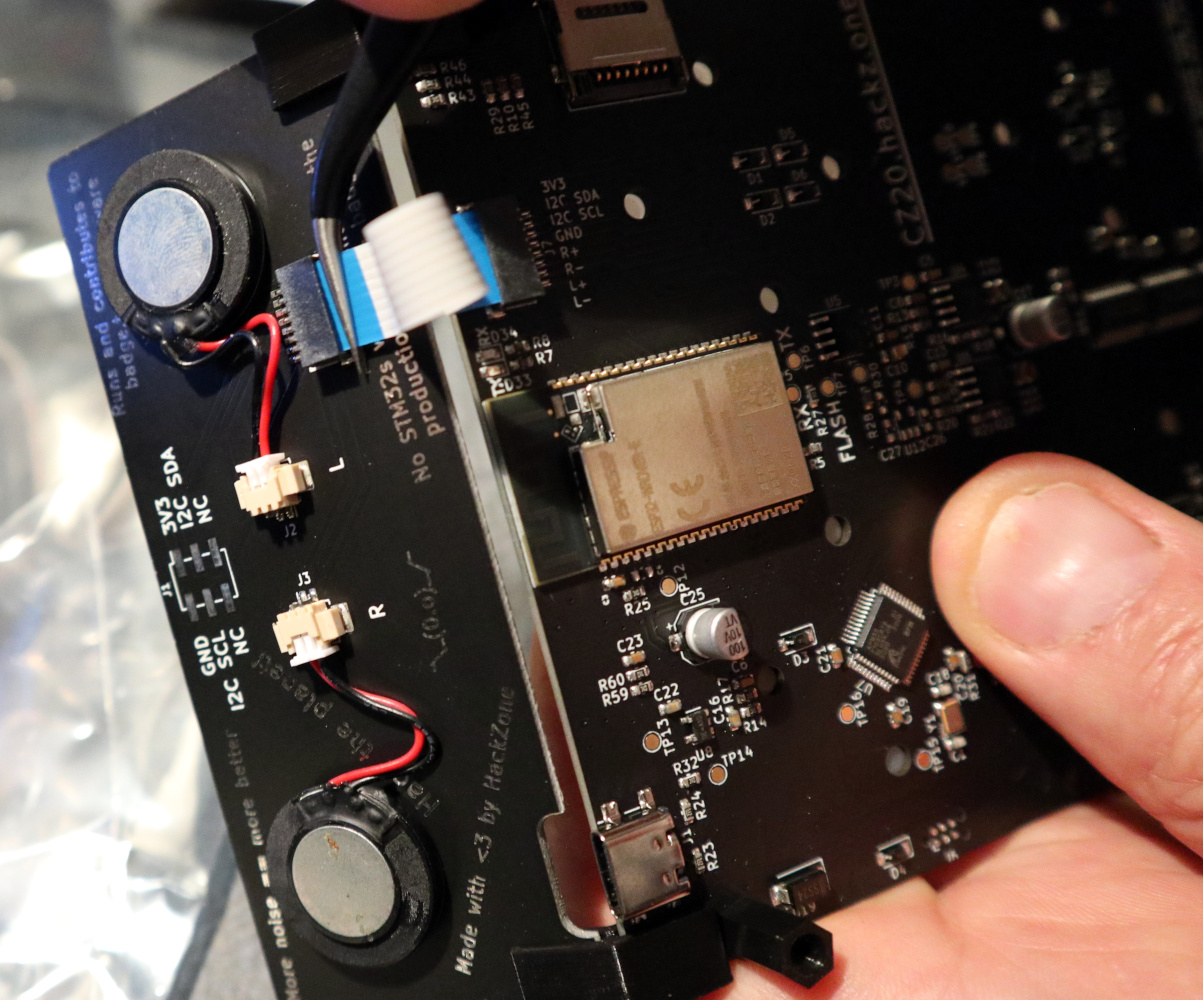
In my package from the Netherlands was the badge kit, containing two PCBs, a bag of hardware, and the silicone keyboard overlay. The badge could be ordered with either of two versions of the keyboard, one with 12 mm tall keys and the other that I fitted with shorter ones about 8 mm. The main PCB is about 111 mm by 100 mm and has a row of touch buttons, the keypad button contacts, and the LEDs on the top with the rest of the components on the underside. The smaller PCB meanwhile is about 40 mm by 100 mm, holds the speakers, and is connected via a short flat ribbon cable. Assembly was fairly straightforward, with the silicone held in place by the plastic stand-offs that double as a stand for the badge, and the speaker board secured by a pair of clip-on 45 degree plastic angle brackets. The speakers themselves are secured with a self-adhesive ring, and have small PCB connectors. The fiddliest part of the assembly is fitting the ribbon cable, something in which I found a good pair of tweezers to be very useful.
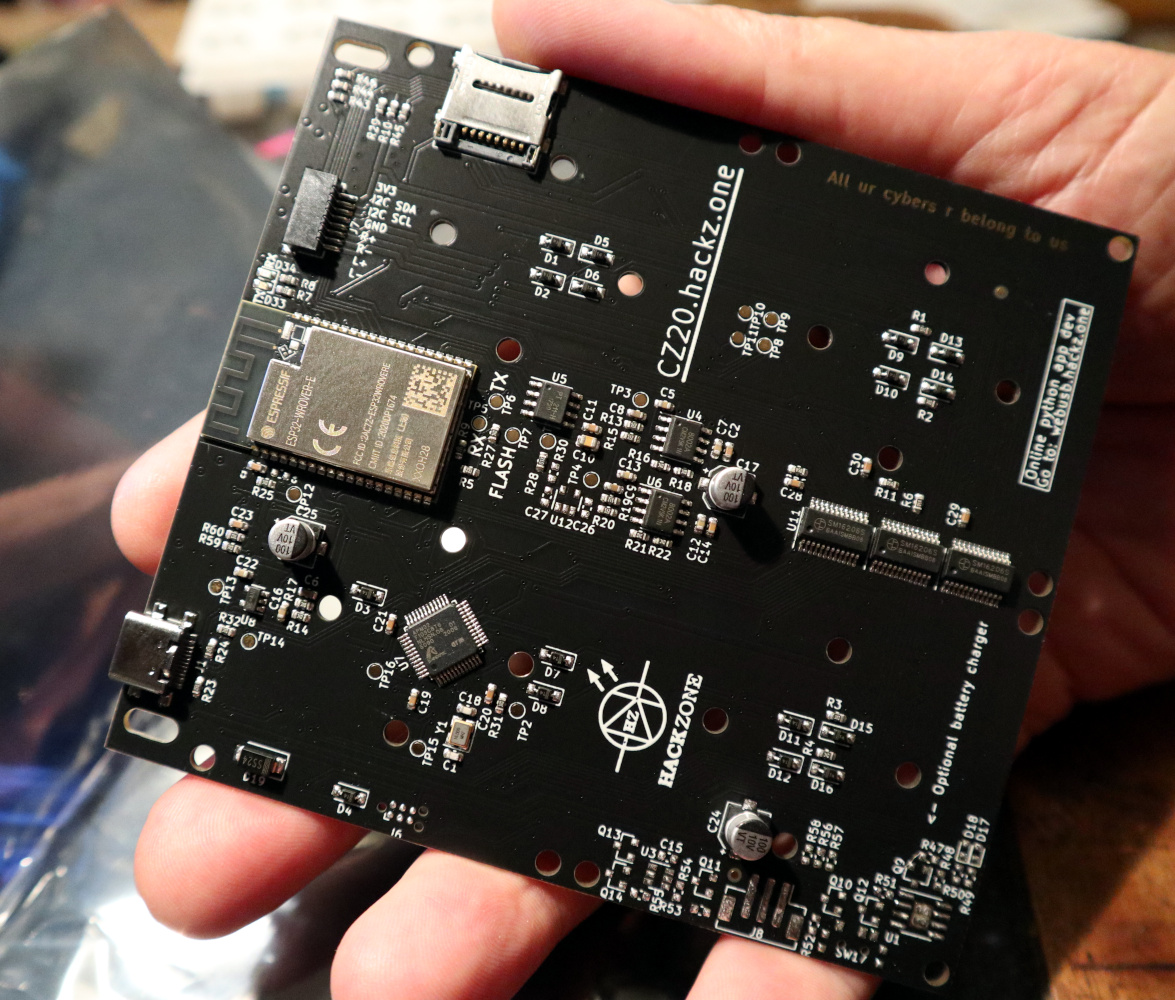
Looking at the hardware on the underside of the board, there is an ESP32-WROVER-2 module that does the heavy lifting, and an Apex Microelectronics APM32F103C8 definitely-not-an-STM32 microcontroller that handles the USB interface. The ESP has a microSD card holder, one of the type with the flip-up lid rather than a slide-in. Further down there are a brace of LED driver chips and a Shenzhen Titan TM8211 i2s DAC with a pair of audio driver chips. Finally there is an unpopulated area for a battery charger and LiPo circuit. Connectivity comes via a USB-C port at the rear of the main board. Mentioning the unpopulated battery circuit area brings us to an important point about the badge, in a strict sense it’s not really a badge at all if you take a badge to be a wearable device. Instead it’s a standalone unit that’s best sitting on a flat surface.
Connecting the badge for the first time to USB-C power sends it into a one-off startup sequence, with flashing LEDs and impressive sounds, and then we gain our first experience of the badge interface as a synthesised voice tells us that a long press on a lit-up button reveals the app it launches, and a short press launches that app. It comes with five apps preinstalled: a simple polyphonic sine wave synthesiser, a four-in-a-row game, a MIDI controller app, a Dutch radio app, and an app that acts as a USB-HID keyboard and types “Cyber” to the host computer. This last one refers to a “CYBER” meme among European hackerspaces, and yes of course its occurrence in the previous sentence was typed using the app on my badge.
WebUSB Brings A New Convenience To Badges
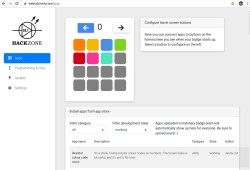
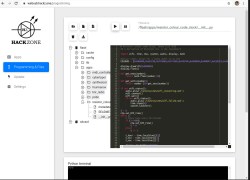
The badge’s physical characteristics now described, it’s time to plug it into the computer and investigate its other features. It’s here that this badge really pushes the envelope in ease-of-use terms, because instead of requiring a toolchain or a terminal, it can be accessed directly for development via WebUSB. Simply point a WebUSB-capable browser at webusb.hackz.one, and immediately there is a list of available apps. Just like all the other badge.team badges, these are hosted on their app store referred to as the hatchery, and using MicroPython they are very easy to write without low-level knowledge of the hardware itself. Even better, the AerPane brings development into the browser via WebUSB with a code editor and a MicroPython prompt, allowing instant code hackery. I dove in and borrowed some code from one of the existing clock apps to combine with a project I wrote years ago, and within about half an hour I had my resistor colour code clock up on the hatchery.
This badge was designed for a gamer event at which many of the participants are not coders and are more likely to own a Windows machine than one running Linux or another OS. Thus the WebUSB approach makes excellent sense as a route to entice them into coding for it, but we can see it’s something that may be less welcome in some circles as WebUSB isn’t supported by all browsers. In particular Firefox users will have to find a Chrome-based browser, and I had to follow a few instructions to get it all working with Chromium on my Ubuntu box. Its design though is fresh and new, it’s a fun and engaging peripheral that you’ll want to play with, and its ease of coding is taken to new heights with the WebUSB interface. It’s all open-source, and we are really looking forward to seeing some of its ideas influencing the next crop of badges from the global #BadgeLife community.
from Blog – Hackaday https://ift.tt/3girf4U
Comments
Post a Comment